How to Grow Herbs in Small Indoor Spaces
Growing herbs indoors is a great way to have fresh flavors and natural scents at your fingertips. Even if you live in a small apartment or don’t have a backyard, you can still enjoy the joy of gardening. Herbs like basil, mint, thyme, parsley, and rosemary don’t need a lot of space. All you need is a bit of sunlight, some care, and the right tools. In this article, we’ll guide you step by step on how to grow herbs in small indoor spaces.
Why Grow Herbs Indoors?
There are many good reasons to grow herbs indoors:
- Freshness: You can pick fresh herbs whenever you need them for cooking.
- Convenience: No need to go to the store to buy herbs.
- Healthy Living: Herbs are full of nutrients and can help improve your health.
- Fun Hobby: Gardening can be relaxing and enjoyable.
- Good for Small Homes: Herbs don’t take up much room and can grow well even in tiny spaces.
Step 1: Choose the Right Herbs
Not all herbs grow well indoors. Some herbs need more sunlight or space than others. It’s best to start with herbs that are easy to grow indoors. Here are some good choices:
- Basil: Great for pasta, salads, and sauces.
- Mint: Perfect for teas and drinks.
- Parsley: Useful for garnishes and cooking.
- Thyme: Good for meat and vegetable dishes.
- Rosemary: Has a strong flavor and grows well with care.
- Chives: Adds a mild onion taste to food.
- Cilantro: Great for salsas and soups.
Start with two or three herbs, especially if you’re new to gardening. Once you get used to taking care of them, you can grow more.
Step 2: Find a Good Location
Herbs need light to grow. The best place to put your herb plants is near a sunny window. Most herbs need at least 6 hours of sunlight each day. A south-facing window is the best choice. If you don’t get much sunlight in your home, you can use grow lights. These lights help the plants grow by giving them the kind of light they need.
Make sure the spot you choose is not too cold or hot. Avoid putting herbs near heaters, air conditioners, or drafty windows.
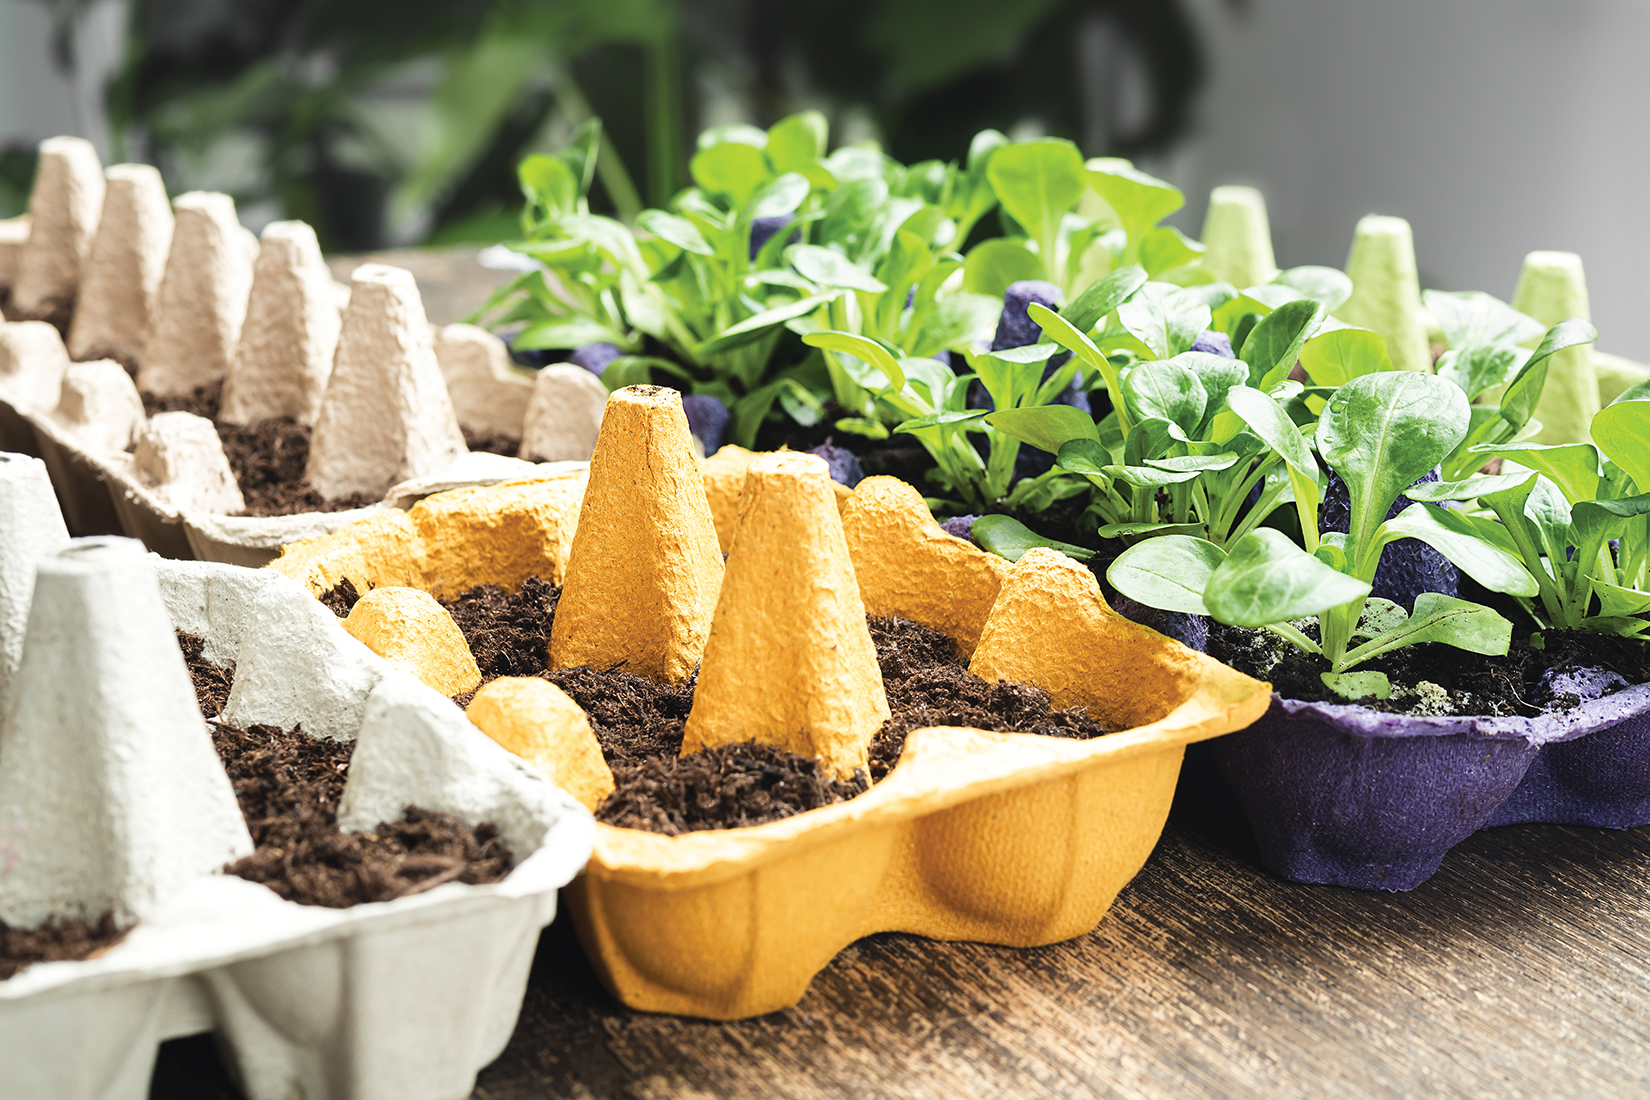
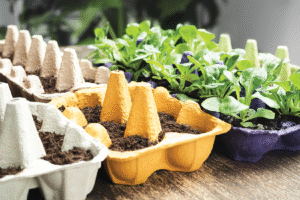
Step 3: Choose the Right Containers
You don’t need fancy pots to grow herbs. You can use:
- Small plant pots
- Mason jars (with drainage help)
- Recycled containers (like yogurt cups with holes)
Just make sure the container has drainage holes at the bottom. Herbs don’t like sitting in water. If water stays at the bottom, it can cause the roots to rot. You can place a tray under the pots to catch extra water.
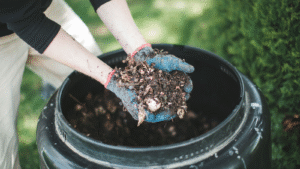
Step 4: Use the Right Soil
Use potting mix, not garden soil. Potting mix is lighter and drains better. You can find special potting mix for herbs or vegetables in garden stores.
Some herbs like a more sandy soil (like rosemary and thyme), while others like a bit more moisture (like basil and parsley). A general-purpose potting mix works well for most indoor herbs.
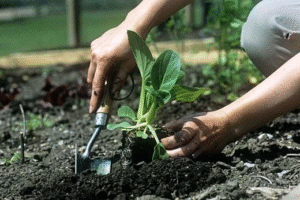
Step 5: Plant the Herbs
You can grow herbs from seeds or small starter plants. If you’re a beginner, it’s easier to start with small plants from a garden store.
Here’s how to plant them:
- Fill the container with potting mix, leaving an inch at the top.
- Gently remove the herb from its original pot.
- Place it in the new container and cover the roots with more soil.
- Press the soil down lightly and water gently.
If you’re planting seeds, follow the instructions on the seed packet. Most herbs grow well when planted about 1/4 inch deep.
Step 6: Water the Herbs Properly
Watering is important. Herbs don’t like to be too dry or too wet. Here are some tips:
- Check the soil with your finger. If the top inch feels dry, it’s time to water.
- Water slowly until you see water coming out of the drainage holes.
- Empty the water tray under the pot to prevent root rot.
- In general, water herbs 2–3 times a week, but this depends on the herb, your pot, and your home’s temperature.
Some herbs, like rosemary and thyme, prefer drier soil, while basil and mint need more moisture.
Step 7: Give Your Herbs Light and Care
Remember, light is key! If your herbs are not getting enough sunlight, they may grow tall and weak. Rotate the pots every few days so all sides of the plant get light.
Also, keep your plants clean. Remove any yellow or dead leaves. This helps the plant stay healthy and strong.
If your herbs are growing too tall or leggy, pinch the tips off. This encourages them to grow more leaves instead of just stems.
Step 8: Harvest the Herbs the Right Way
You can start picking leaves once the plant is big enough. Here’s how:
- Only take about 1/3 of the plant at a time.
- Use clean scissors or your fingers to snip the stems.
- Pick leaves from the top to encourage bushy growth.
- Don’t take too much at once, or the plant might not grow back well.
Regular harvesting actually helps herbs grow better!
Step 9: Watch for Problems
Even indoor herbs can have problems. Here are a few common ones:
- Yellow leaves: Too much water or not enough light.
- Wilting: Could be from too much or too little water.
- Brown tips: Dry air or over-fertilizing.
- Bugs: Check under leaves for tiny insects like aphids. Wash them off with water or mild soapy spray.
Keep an eye on your herbs and adjust care as needed.
Step 10: Enjoy Your Herbs!
Now that you have healthy herbs growing in your home, use them in your cooking! Add fresh basil to pasta, sprinkle chives on eggs, or use mint in a glass of lemonade. You’ll notice how much better food tastes with fresh herbs.
You can also dry or freeze extra herbs if you have more than you need. This way, you’ll have herbs ready to use later.
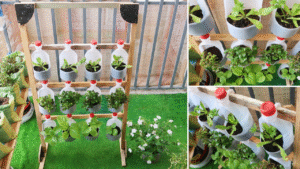
Final Tips for Small Spaces
- Use shelves: Place herbs on window shelves or vertical planters to save space.
- Hang pots: Hang small pots near windows with hooks or rods.
- Combine herbs: Grow herbs with similar water and light needs in the same pot.
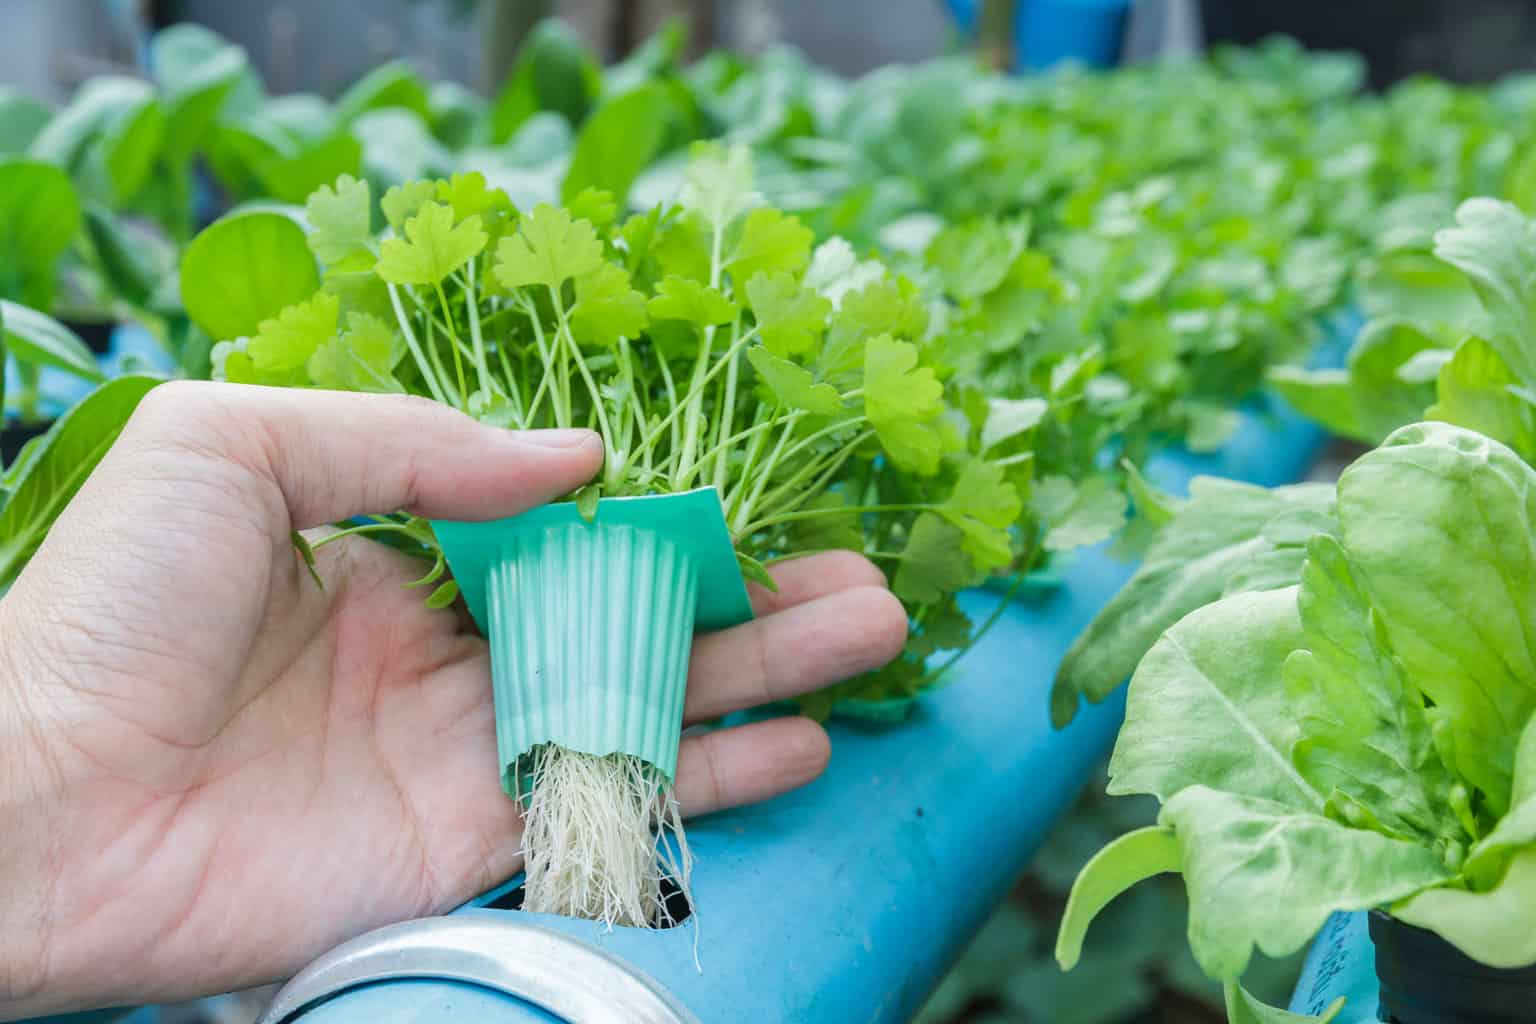
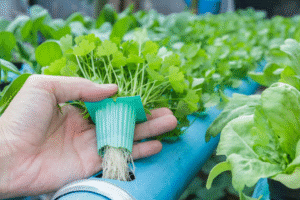
- Use hydroponic kits: These are small indoor gardens that use water instead of soil.
Conclusion
Growing herbs indoors in a small space is simple, fun, and useful. With just a few pots, some soil, and a sunny window, you can grow your own fresh herbs. It doesn’t take much time, and the rewards are tasty and satisfying. So don’t wait—start your mini indoor garden today and bring some green goodness into your life!

Post Comment